Valentine’s Ombre Heart Drip Cake
Who doesn’t love a raspberry chocolate cake? And not just any raspberry chocolate cake, but one with fresh raspberry filling, fresh raspberry buttercream, AND dark chocolate ganache drip? AND one also shaped like a heart and frosted with pink, ombre buttercream?
Well, my husband and I certainly do. So I decided to make this pretty and tasty little cake for Valentine’s Day! I had never made fresh raspberry filling or buttercream, but I think it paired really perfectly for this little cake. I decided to make a heart shaped layer cake, using three layers of my triple chocolate cake.
I found this little cake pan at a local store in the weeks before Valentine’s day, and it ended up being about equivalent to an eight inch round cake. If you can’t find a heart shaped pan you could always carve a heart out of a round cake, but that would take a bit more time and I’m all about taking shortcuts where it doesn’t affect the quality of the cake or design.
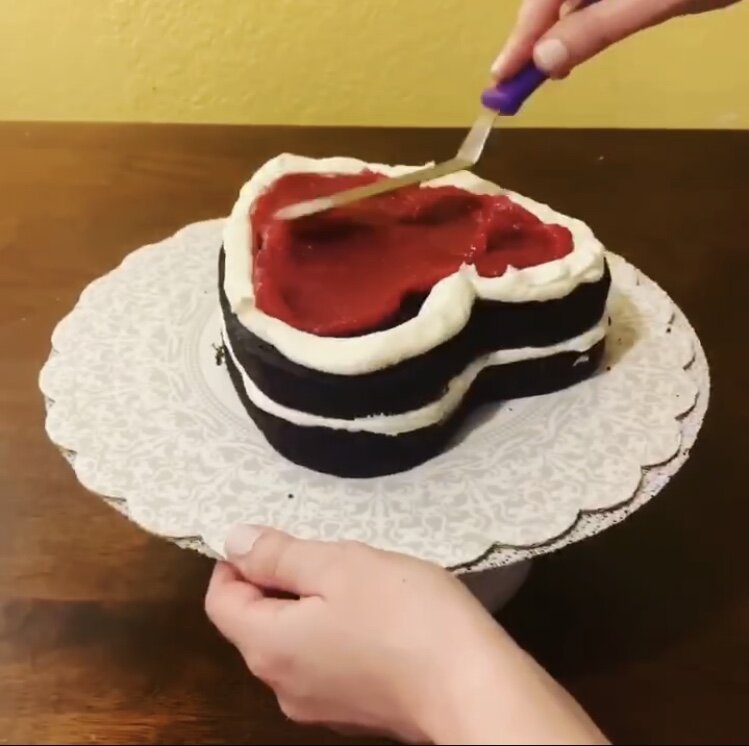
I started this cake out with a scalloped cake board, then placed the first layer down on the board. Always adhere your first layer of cake to the board using a dab of buttercream so the cake doesn’t shift. Then, using a filled piping bag, pipe a buttercream “dam” around the edge of the first layer.
I use a buttercream dam with any cake using a filling other than sturdy buttercream. If I don’t, I can end up with a cake with buttercream and filling bulging out of the sides, which nobody wants.
Because I was using a more liquidy filling here, I piped this dam to help keep the filling from squeezing out of the sides when I layered it up. Then, I added a couple of scoops of my fresh raspberry filling and smoothed it out.
Then I continued to stack the cake, filling each layer as above. Then I crumb coated the cake with basic vanilla buttercream.
I chilled the cake for about 20-30 minutes. While the cake chilled, I separated my buttercream into four separate bowls and colored three bowls in shades of pink. To color the buttercream, I added a bit of my raspberry filling, using about a teaspoon for the darkest shade and lightening each bowl thereafter. It’s important to keep these shades only slightly darker each time so that it creates an ombre effect on the side of the cake. I left one bowl (with more frosting than the others, because I was using it on top of the cake also) white. After pulling the cake out of the fridge, I applied the darkest pink all around the bottom of the cake in about a one inch line.
You can use a piping bag for this step, which will give you a more even line... but I was being lazy and didn’t feel like filling four bags of frosting at this point. I followed this process with each shade of pink, progressing from darkest to lightest until I got to white, which I also used on top of the cake.
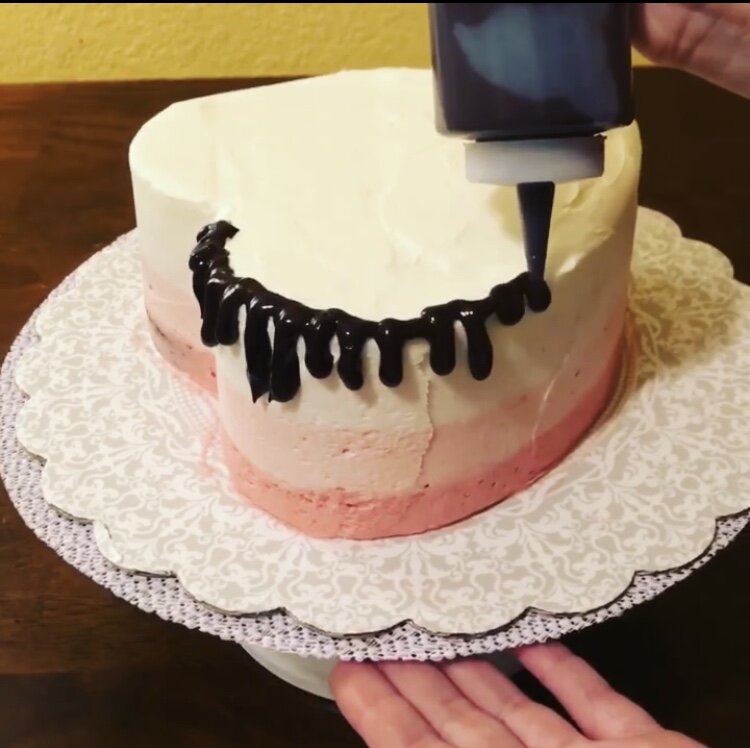
Then I smoothed the sides of the cake using a cake scraper and the top with an offset spatula and popped the cake back into the fridge for at least an hour to crust the buttercream and chill the cake. Meanwhile, I put a batch of dark chocolate ganache into a squeeze bottle to use to drip on the cake.
You can also use a spoon to make a drip on a cake, but I prefer using a squeeze bottle—which I found for maybe .50 cents at the store—because I can save any leftover ganache easily in the fridge and just re-microwave it for another cake.
The drip should be slightly warmer than room temperature when added to the cake.
After the cake has chilled really well, apply the drip to about half of the cake. The cake has to be well chilled for this; otherwise, your drip will just keep dripping down the cake and you’ll end up with a huge mess instead of a perfect chocolatey drip. I generally do a test drip to ensure the ganache is at the right temperature before doing the whole cake. Squeeze or pour small amounts of the ganache on to the cake and gently allow them to slide down the side, where they should eventually slow and stop.
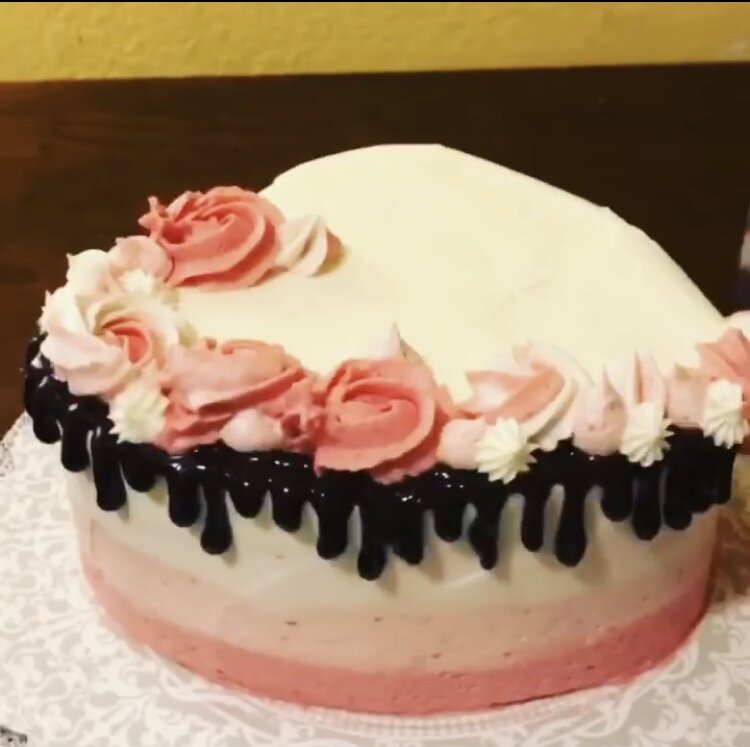
After finishing the drip, the cake needs to chill again before we finish it. [I know, there is a lot of chilling here. But that cake has to be real chill before we can move in each step. Cue the cymbal tap for bad jokes here.]
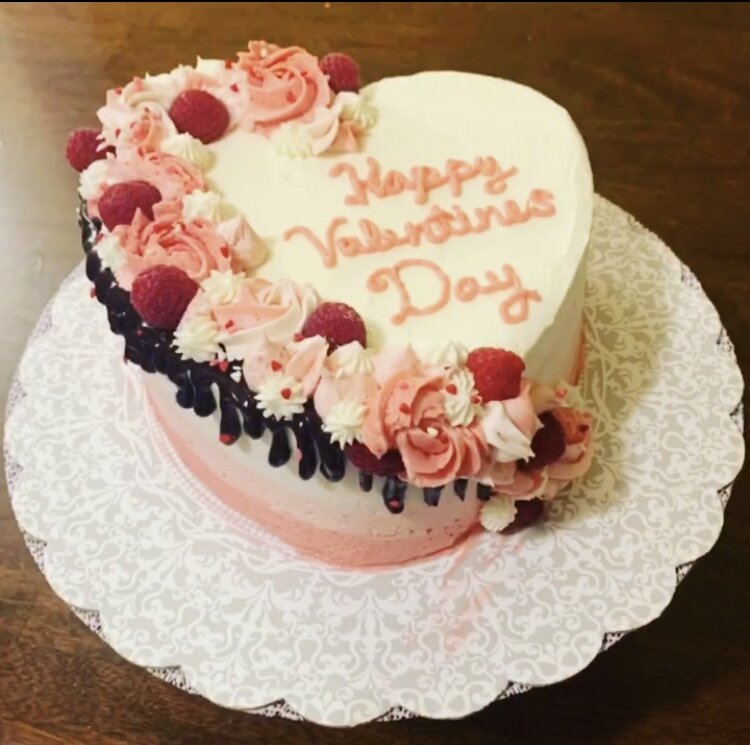
Once the cake is chilled again, I piped some decorations on top using pastry bags filled with the different colors of buttercream. I used frosting tips 1A (big circle looking dollops), 26 (small white stars), 2D (big rosette swirls and big stars), and just added frosting accents all along the left edge of the cake. Pro Tip: get a few piping bag couplers which make it easier to use different tips for the same color frosting, so that you don’t have to completely remove and take apart a bag each time.
Then I added in a bunch of fresh raspberries, and piped “Happy Valentine’s Day” in the white space on top of the cake.
And that was it!
Let me know what you think! If you try this Heart Drip Cake, please leave a comment below and show me how it went for you. Be sure to tag me in any social media posts @esquirecakes or use the hashtag #esquirecakes so I can see your beautiful treats!


