Geode Cake
Do you remember those really cool rocks that looked totally ordinary on the outside, but had colored, sparkly crystal insides that they would show in science class or in science museums? That’s right—Geodes.
When one of my coworkers told me her daughter wanted a Geode cake for her eighth birthday, I was beyond excited. I’d seen dozens of geode cake tutorials and couldn’t wait to try to make one.
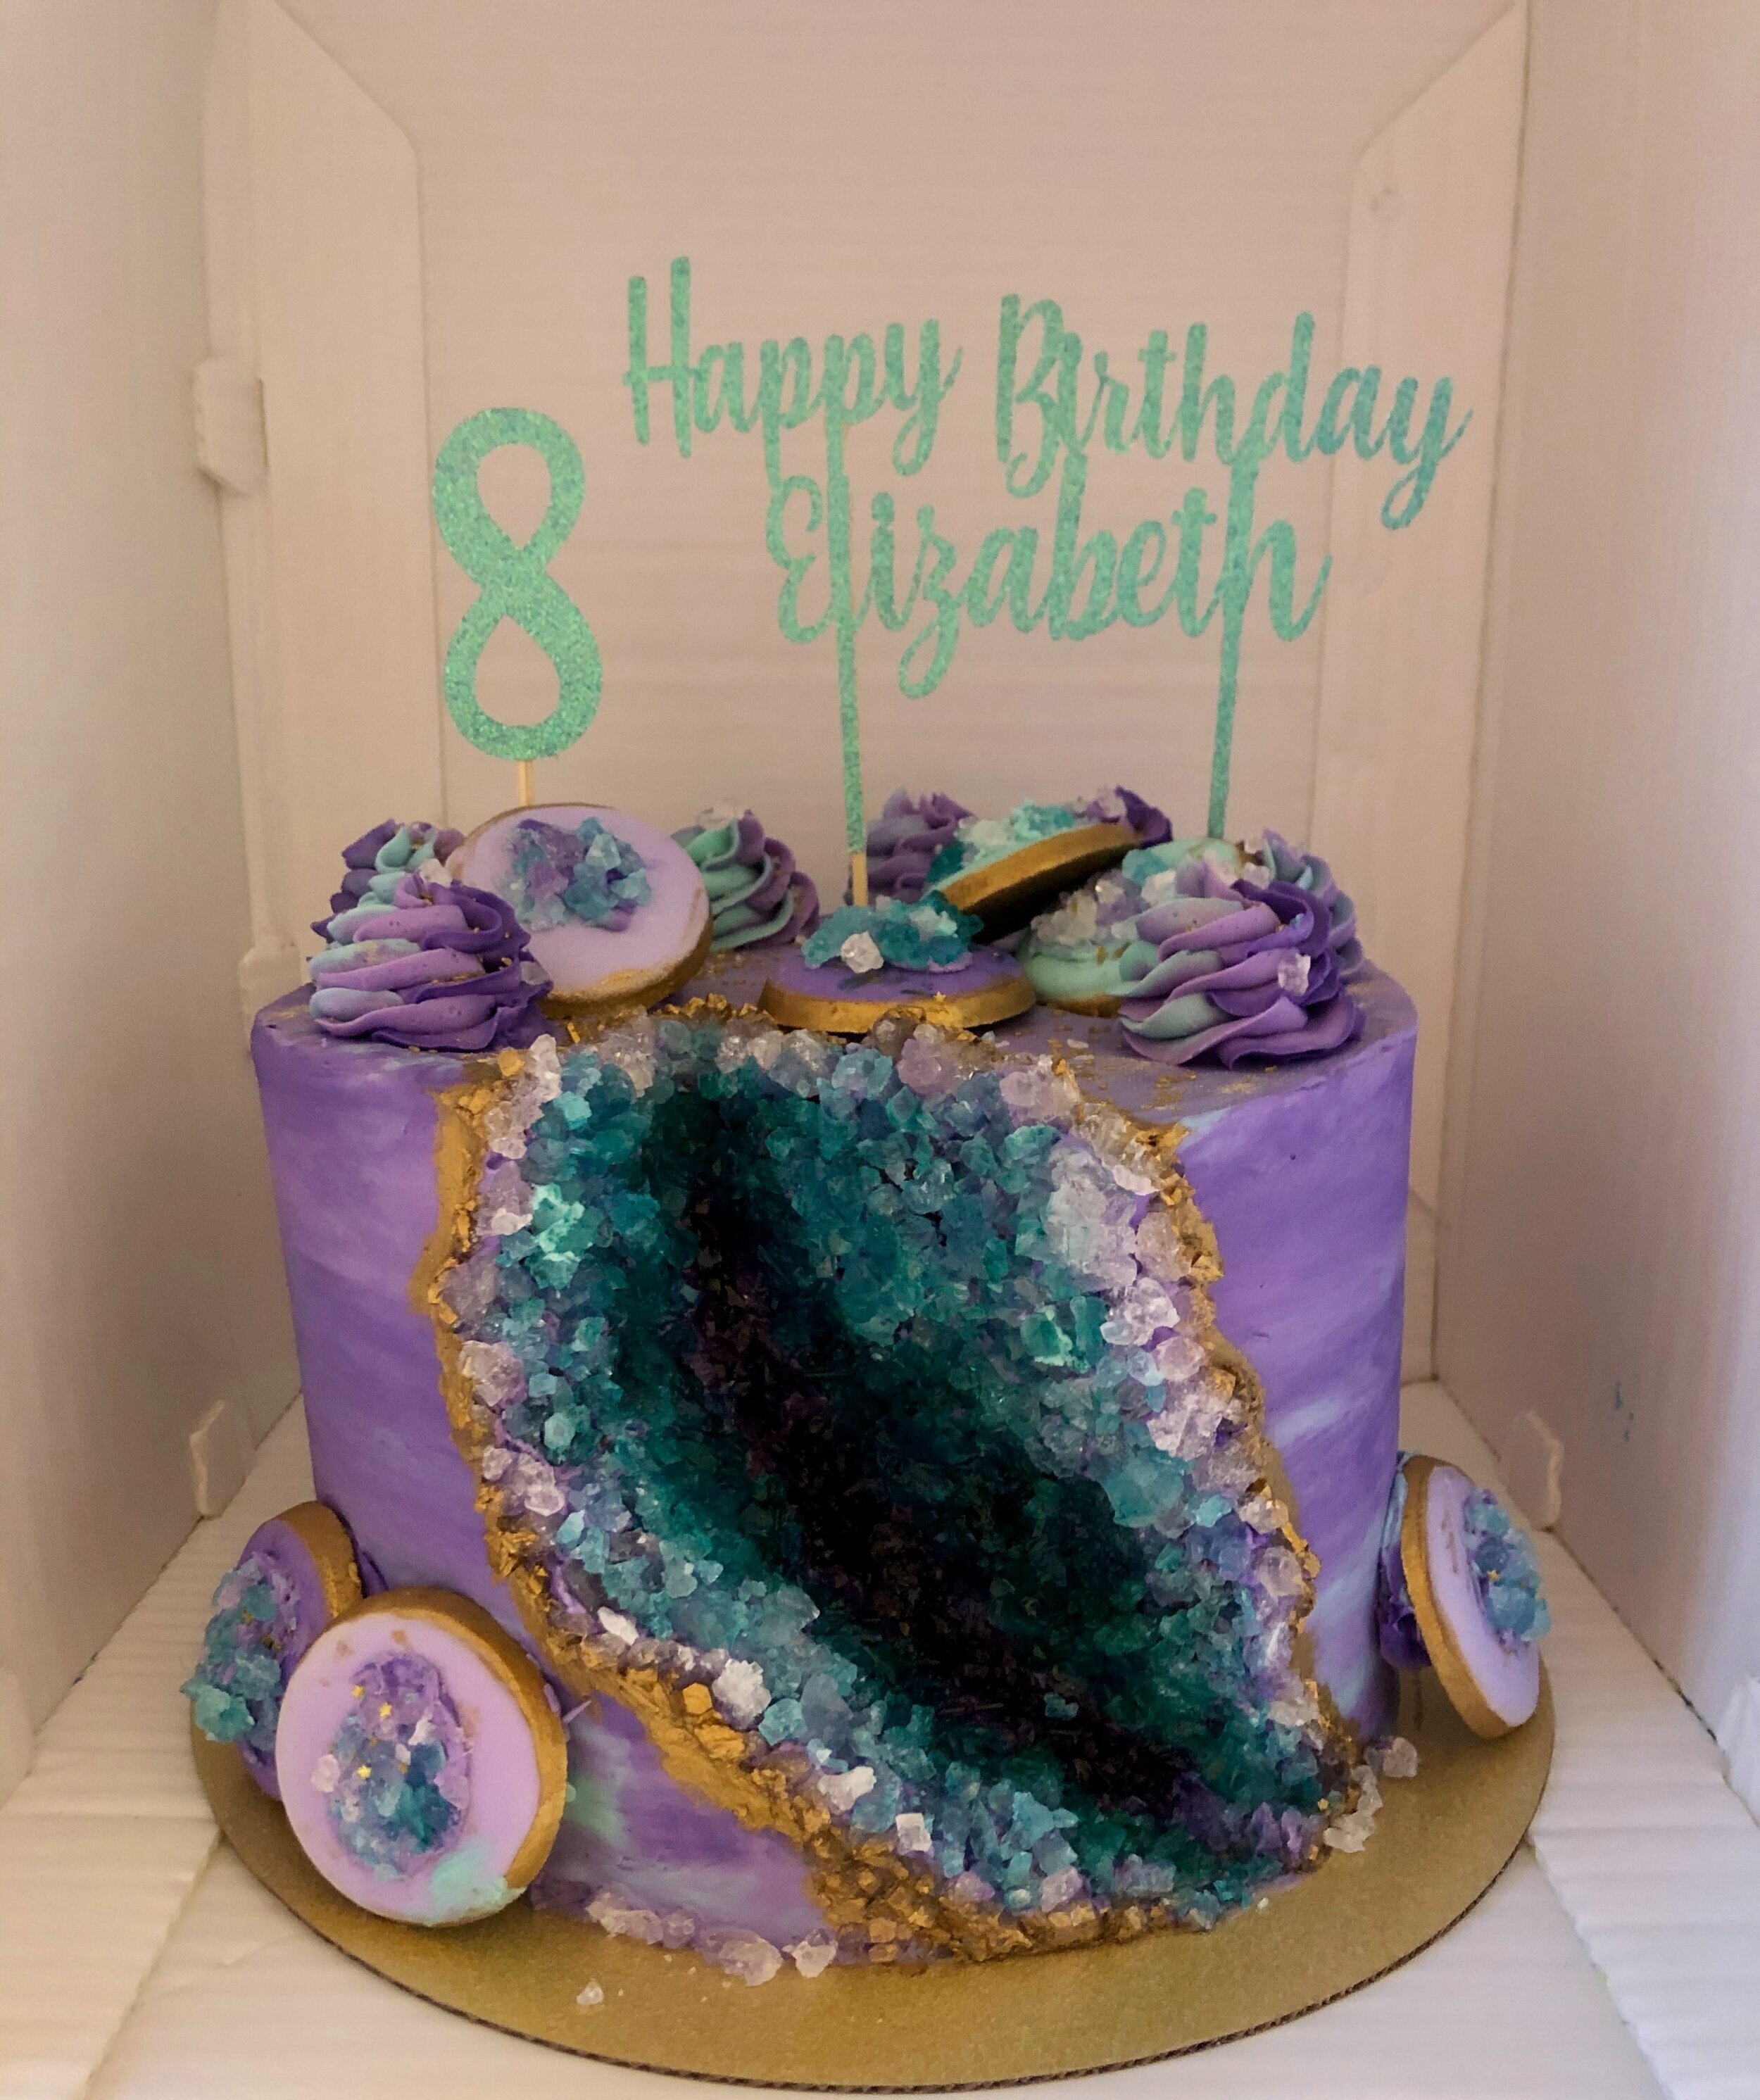
Elizabeth wanted a chocolate cake with vanilla buttercream. Her design choice was a purple and teal themed Geode cake with gold accents. I decided to go with a teal buttercream center, purple and teal marble effect outside, and teal to white to gold gradient crystal center.
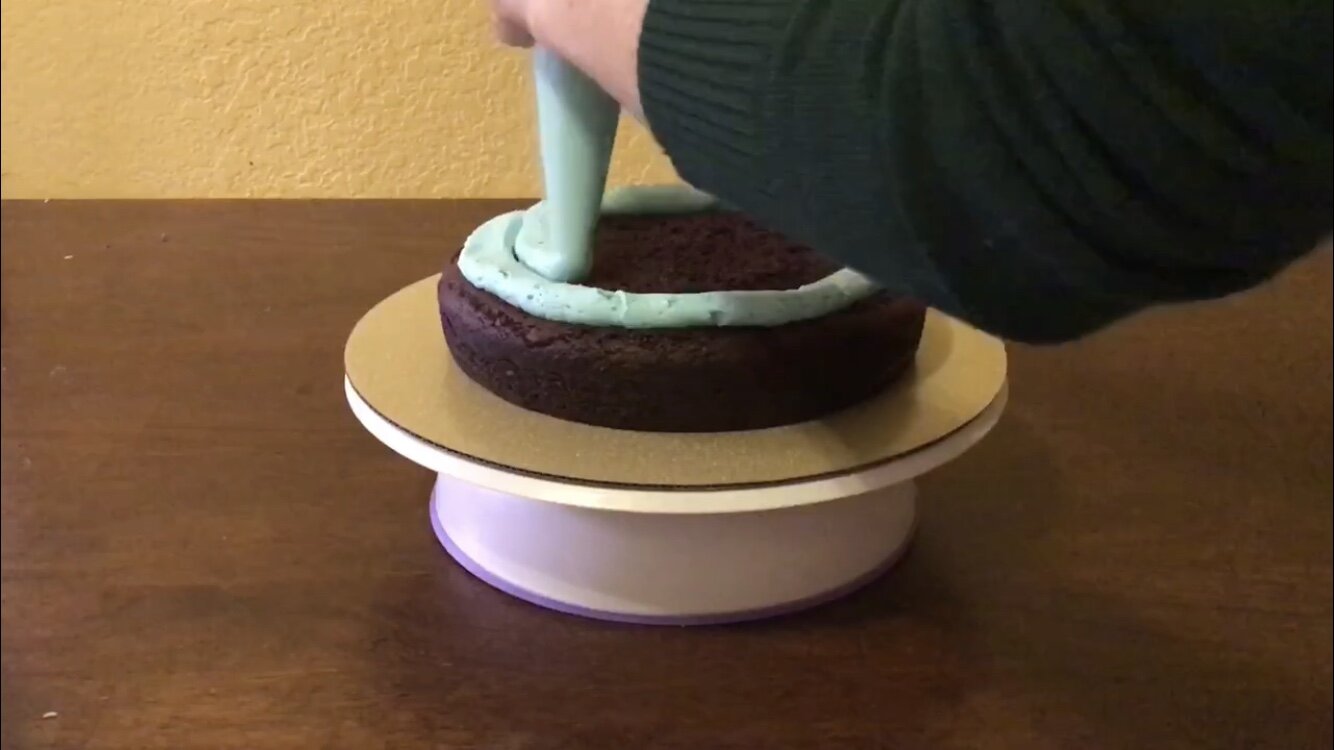
I started with a gold sparkly cake board. Then, I filled the cake with a teal frosting center, and crumb coated it with a light purple frosting. After crumb coating, I chilled the cake to ensure the layers and center were well-cemented and not wobbly.
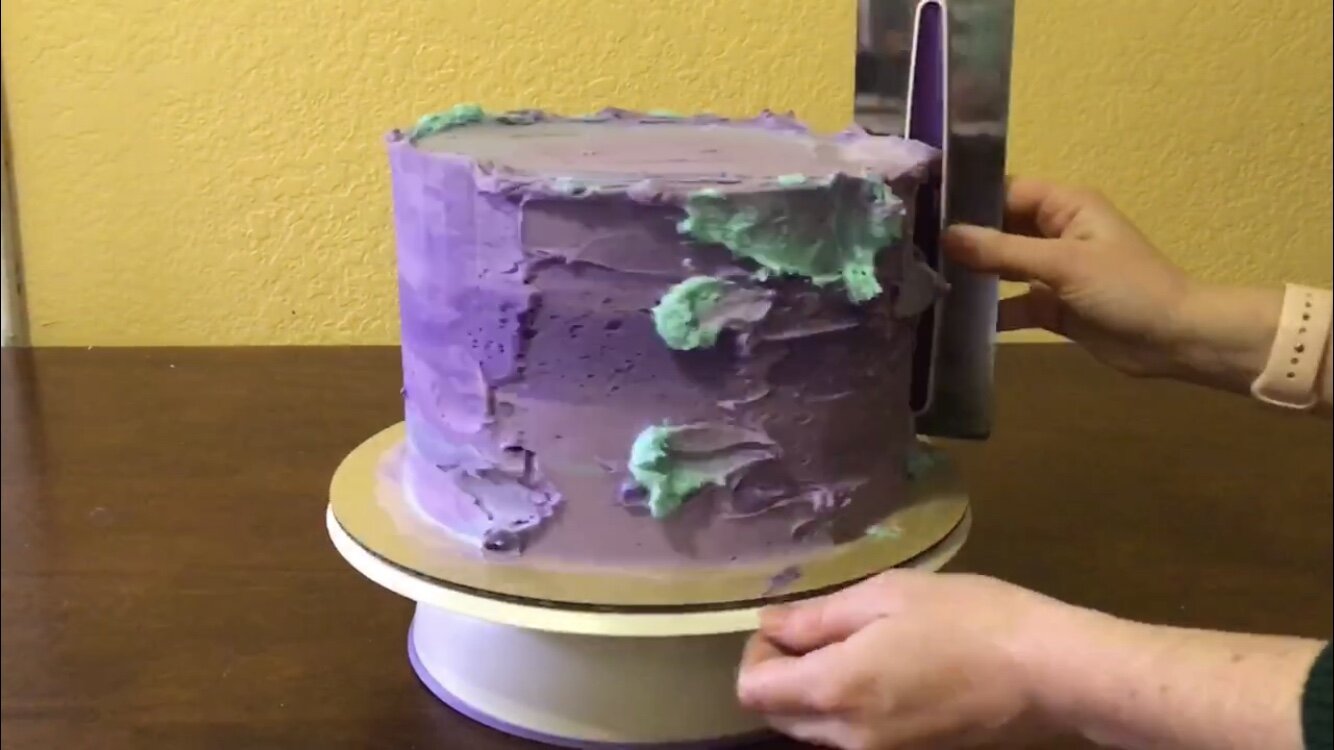
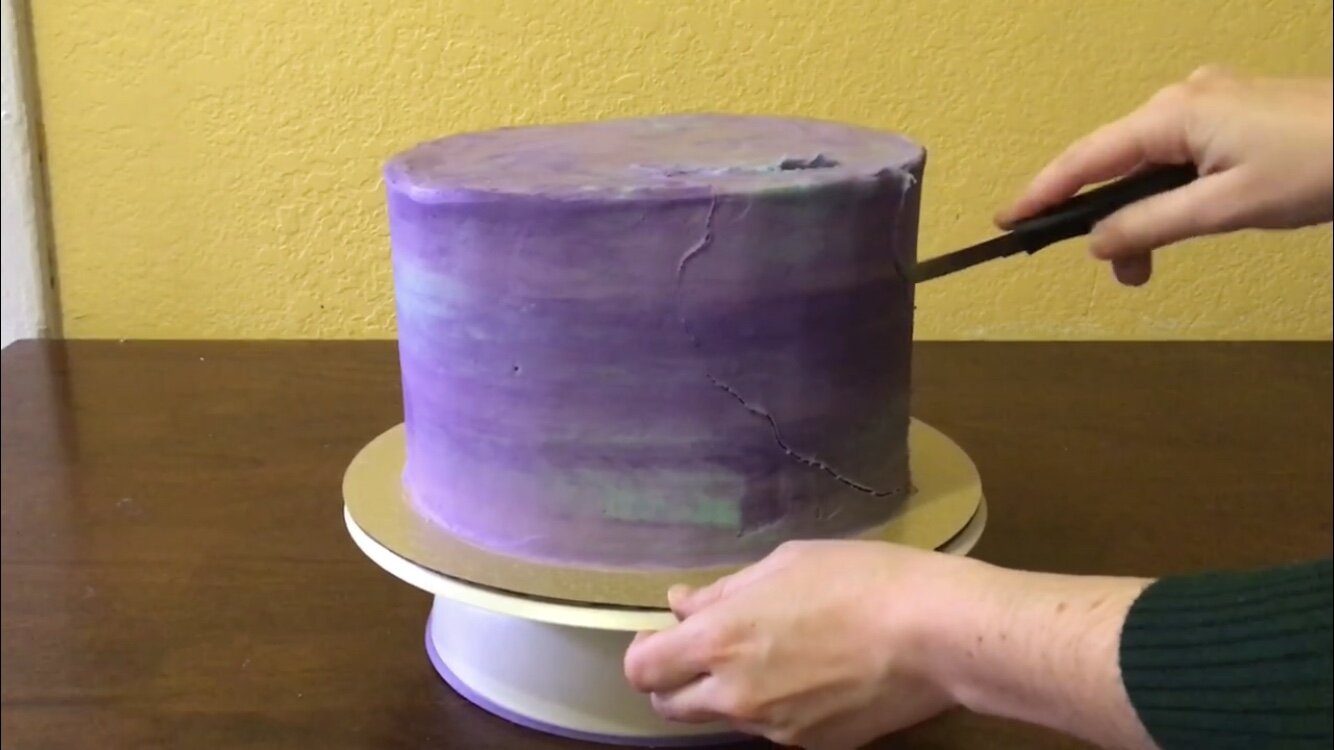
About twenty minutes in the fridge later, I began the outer frosting layer. To achieve a marble effect, I alternated teal, light purple, and dark purple frosting throughout the cake. Then I smoothed the outer layer using a cake scraper until the sides were smooth. To smooth the top and get sharp edges, I use an offset spatula to smooth the frosting. Pro tip: run your spatula and cake scraper under extremely hot tap water before smoothing the cake, as it helps create a perfectly shiny and flawless frosting.
The cake got popped back in the fridge for at least an hour to crust up the buttercream. In the meantime, I broke up my rock crystals for the center of the cake. I just used some basic rock candy in teal and white, and broke it off the sticks using a meat tenderizing hammer into medium size crystals.
Spoiler alert, rock candy will get all over your kitchen unless you put it inside of a plastic bag, and smash it from outside the bag. Save yourself some hassle and start with the rock candy in the bag, unlike me.
If you’re really feeling adventurous, you could try to grow your own rock candy; but a.) I didn’t have the time or patience for that, and b.) regular rock candy works perfectly fine. I used about 10-12 sticks of rock candy for this four layer, eight inch cake. I also planned to use some little sugar cookies for decoration on top of and around the cake, so I prepped those while I waited for the cake to chill. I just put a dab of buttercream on each cookie and attached some rock crystals.

I purchased these cookies pre-made at the party store, because I have absolutely zero ability to bake cookies. I burn them every. single. time. If you aren’t a hopeless cookie baker, feel free to make them yourself. If you are and can’t find any in the store, feel free to totally omit them.
After about an hour in the fridge, the cake was ready to be carved. I used a toothpick to draw out the shape of the crystal center.
I went with a large gash down the entire front of the cake, but you could do multiple gashes, or one narrow one—pretty much anything looks good as long as you have enough room to get your crystals in there. 
After marking out the crystal center, I cut through the cake with a sharp knife, and disposed of the extra cake.
Then, I frosted the inside of the gash and began to attach my rock candy crystals. I put the darkest teal candy in the center and put the white candy on the outside.

After covering the area in the candy, I painted the crystals using food safe paint brushes, purple, and teal gel food coloring, making the center the darkest purple, then switching to teal and lightening the color as I made my way to the edges of the crystals. Don’t go overboard when doing this—you can always go darker, but you can’t go lighter, so start out with a small amount of food coloring and go darker very carefully.
[Pro tip: If you need to thin out your gel food coloring, you can add some high proof clear alcohol. I use 150 proof clear rum. Don’t worry, the alcohol evaporates and it can’t be tasted on the cake… and you won’t end up with any intoxicated cake eaters.]
On the edges of the crystals, I used gold food paint to add a little sparkle and shine.

After the crystals were placed and painted, I added a few little frosting swirls on top using a mix of the teal, light, and dark purple buttercream, placed some cookies on top and around the sides of the cake, and added a pretty teal cake topper I made with my Cricut Explore Air 2. You can see my post on why you should have a Cricut for cake decorating here.


And that was my first Geode cake! A full video of the process is below.
Let me know what you think! If you try this Geode cake, please leave a comment below and show me how it went for you. Be sure to tag me in any social media posts @esquirecakes or use the hashtag #esquirecakes so I can see your beautiful treats!